Basteln mit Kindern: Fensterbilder – Bring your Windows to Life!

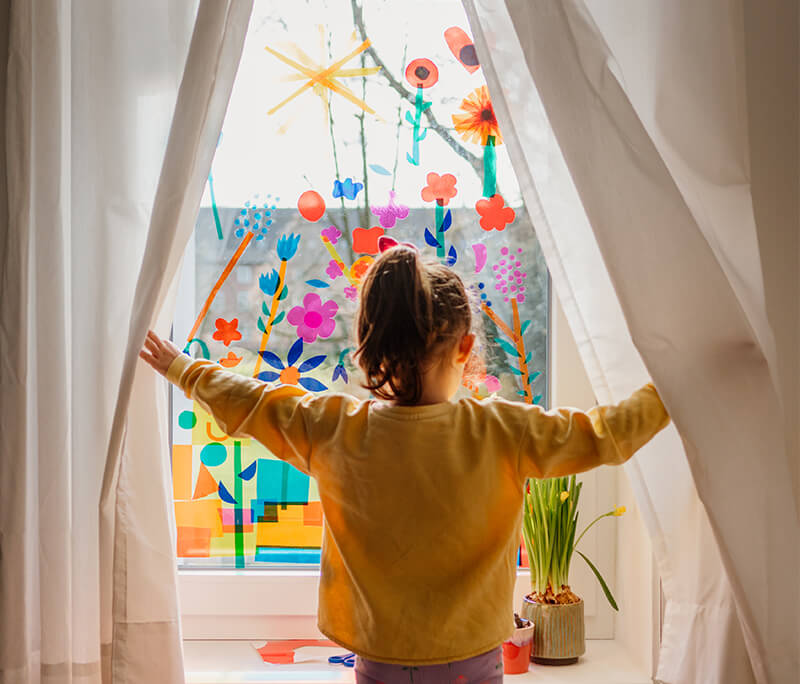
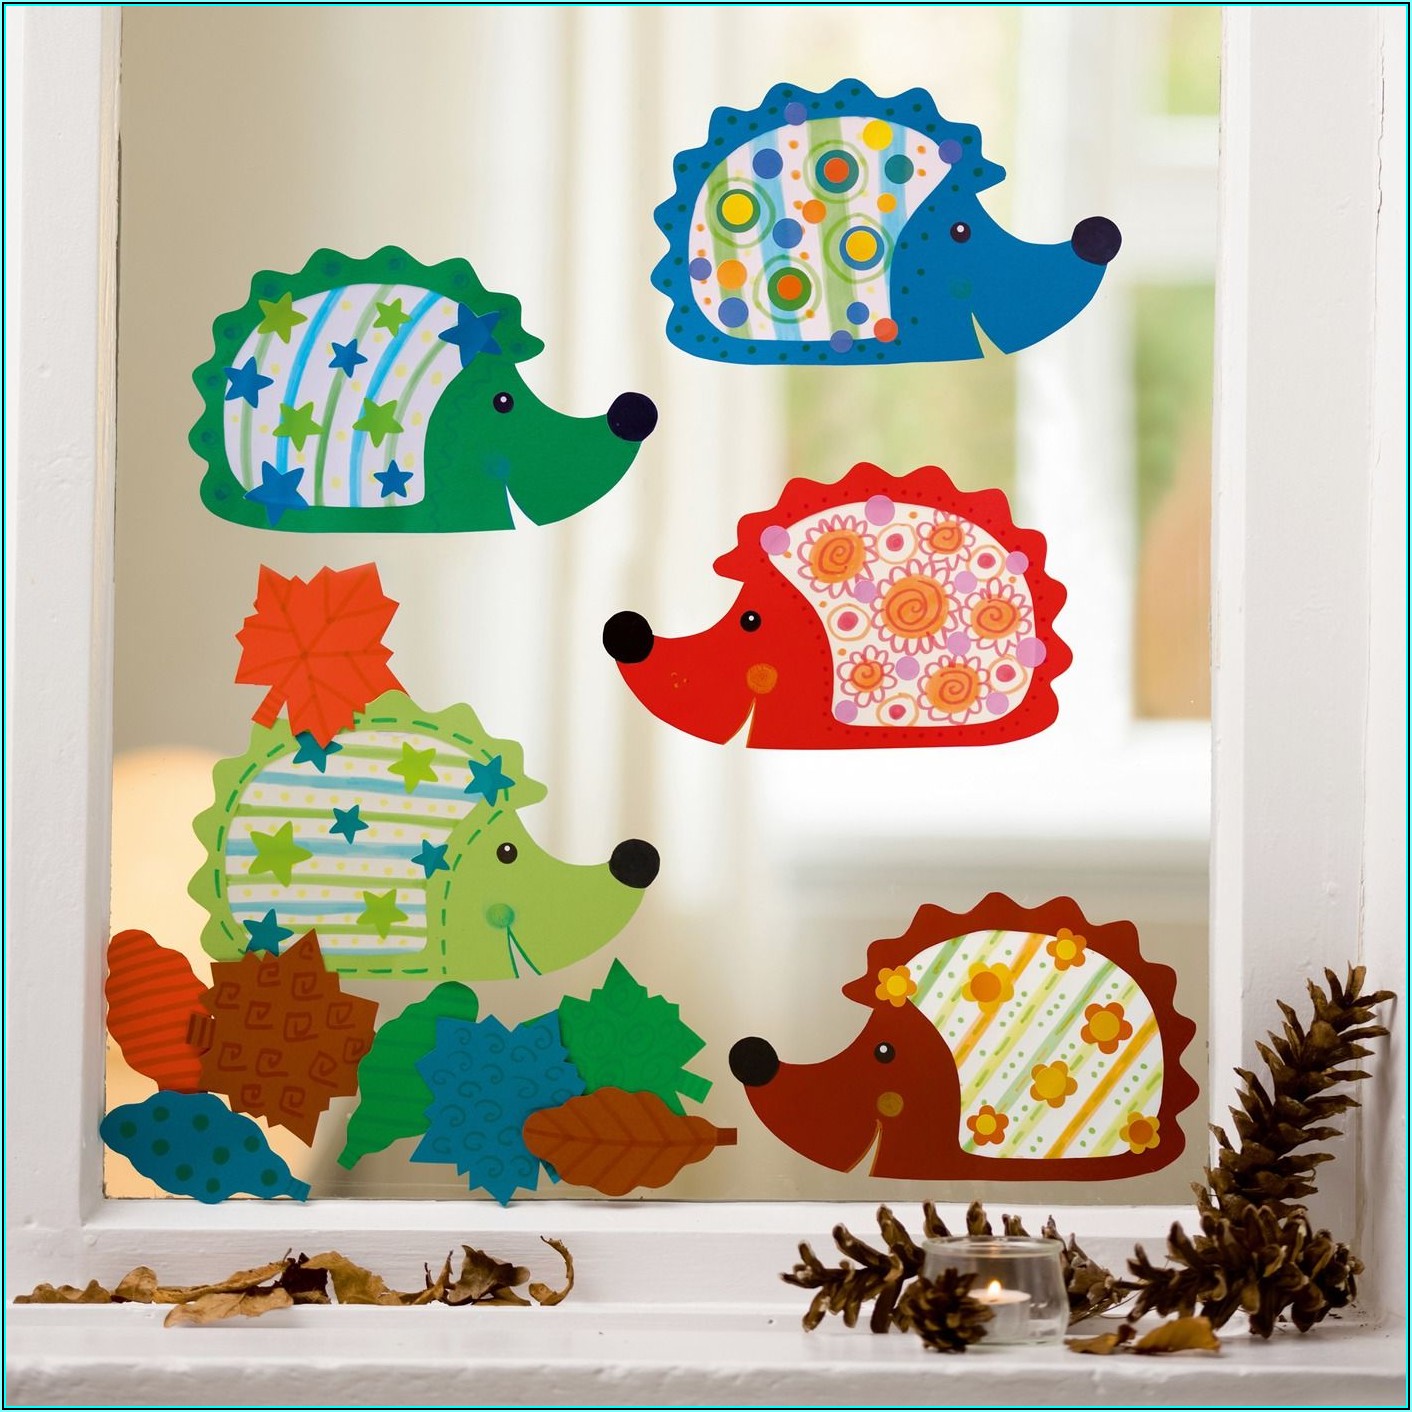
Fensterbilder are a fun and creative way to decorate your windows, especially during the holidays. They’re like temporary stained glass, adding a touch of magic and color to your home. Instead of using glass, you can create them with simple materials like paper, glue, and markers.
Here’s what makes Fensterbilder unique:
- They’re temporary: You can change them whenever you want, making your windows reflect different seasons or moods.
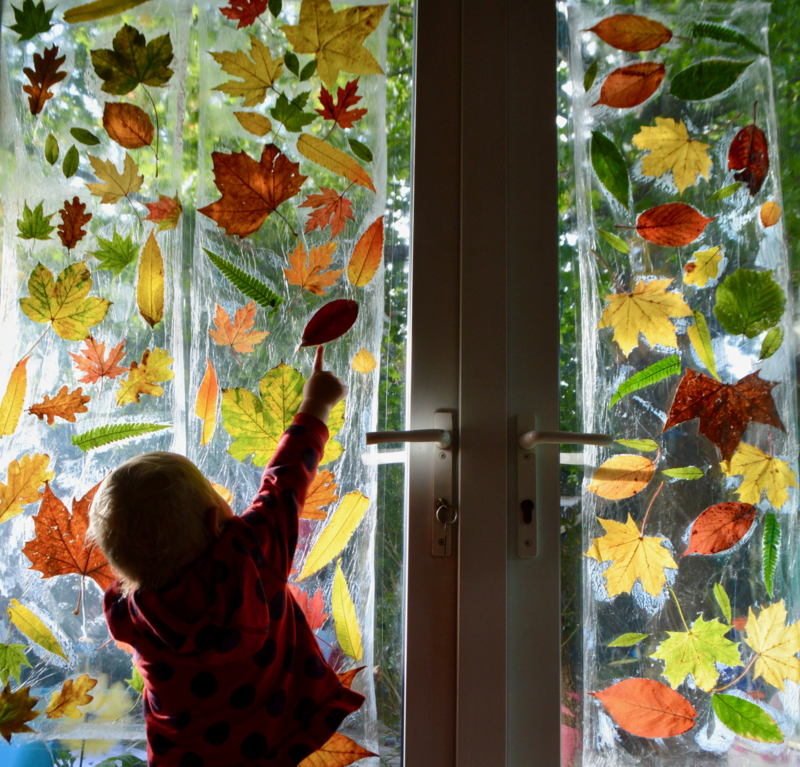
- They’re versatile: You can use different materials like tissue paper, cellophane, or even dried leaves to create unique effects.
- They’re a great way to get creative: Let your imagination run wild with different designs and colors!

Benefits of Fensterbilder:
- They add a personal touch: Make your home feel unique and inviting.
- They’re fun for all ages: A great activity to do with children or even as a relaxing project for adults.
- They’re a great way to express your creativity: There are no limits to what you can create!
- They’re a great way to learn about different cultures and traditions: Many cultures have their own unique window decorations for different holidays.

How to make Fensterbilder:

Materials you’ll need:
- Paper (white or colored)
- Scissors
- Glue
- Markers, crayons, or paint
- Optional: Tissue paper, cellophane, glitter, sequins, dried leaves, etc.

Instructions:
- Choose your design: Think about what you want to create. You can draw your own design or find inspiration online.
- Draw your design on paper: If you’re using markers or crayons, draw directly onto the paper. If you’re using paint, draw your design on a separate sheet of paper and then cut it out.
- Cut out your design: Carefully cut out the shapes of your design.
- Glue your design to the window: Use glue to attach your design to the window. Make sure to press down firmly to ensure it sticks well.
- Add details (optional): You can add extra details to your design using markers, crayons, glitter, or sequins.

Tips:
- Use a light touch when applying glue: Too much glue will make your design look messy.
- Let your design dry completely before adding any extra details.
- Don’t be afraid to experiment: Try different materials and techniques to create unique designs.
Fensterbilder are a fun and easy way to add a touch of creativity to your home. So gather your materials and get started!
Frequently Asked Questions:
- Q: What kind of glue is best for Fensterbilder?
- A: A clear glue stick or a craft glue that dries clear is best. Avoid using glue that might stain the window.
- Q: How do I remove the Fensterbilder from the window?
- A: Gently peel the design off the window. If any glue residue remains, you can wipe it away with a damp cloth.
- Q: Can I use Fensterbilder outside?
- A: It’s not recommended to use Fensterbilder outside, as they may be damaged by rain or wind.
- Q: What are some ideas for Fensterbilder designs?
- A: You can create anything you want! Think about the season, holidays, or your favorite animals or characters.
- Q: Can I use Fensterbilder to create a story?
- A: Absolutely! You can create a series of Fensterbilder that tell a story or depict a scene.
I hope this helps you get started with your own Fensterbilder! Remember, have fun and be creative!

