With great pleasure, we will explore the intriguing topic related to Powerpoint Bild Unscharf Machen: A Comprehensive Guide to Mastering Image Blur in Presentations. Let’s weave interesting information and offer fresh perspectives to the readers.
Powerpoint Bild Unscharf Machen: A Comprehensive Guide to Mastering Image Blur in Presentations

Introduction
In the realm of effective presentations, visual impact reigns supreme. Images have the power to captivate audiences, convey complex ideas, and leave a lasting impression. However, when images are blurry or pixelated, they can detract from the overall impact of your presentation and hinder your message’s effectiveness. That’s where PowerPoint’s "Blur" feature comes into play. This powerful tool allows you to seamlessly blur images, creating a sophisticated and professional look that enhances the visual appeal of your slides.
Subheading 1: Understanding PowerPoint’s "Blur" Feature
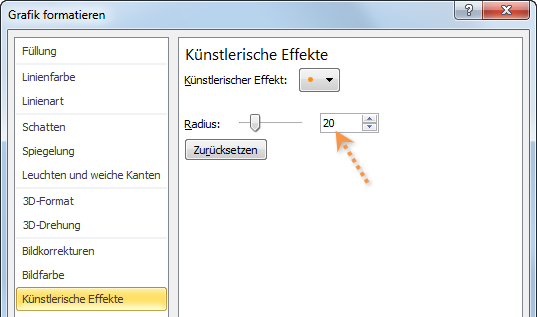
PowerPoint’s "Blur" feature is a versatile tool that enables you to adjust the level of blur applied to an image. By manipulating the blur radius, you can achieve a wide range of effects, from subtle softening to complete obscuration. This flexibility makes the "Blur" feature suitable for various presentation scenarios, including:
- Creating depth of field: Blurring the background of an image can create a sense of depth, drawing attention to the main subject.
- Emphasizing specific elements: Selective blurring can highlight key areas of an image, guiding the audience’s focus.
- Adding artistic flair: Blurring can add an artistic touch to images, creating a unique and visually appealing aesthetic.

Subheading 2: Benefits of Using PowerPoint Bild Unscharf Machen

Incorporating PowerPoint’s "Blur" feature into your presentations offers numerous benefits:
- Enhanced visual appeal: Blurring images can elevate the overall visual appeal of your slides, making them more engaging and professional.
- Improved clarity: By blurring distracting elements, you can enhance the clarity of your message and ensure that your audience focuses on the most important aspects.
- Increased impact: Blurred images can create a sense of intrigue and mystery, captivating the audience’s attention and leaving a lasting impression.

Subheading 3: How to Use PowerPoint Bild Unscharf Machen

Using PowerPoint’s "Blur" feature is straightforward and intuitive:

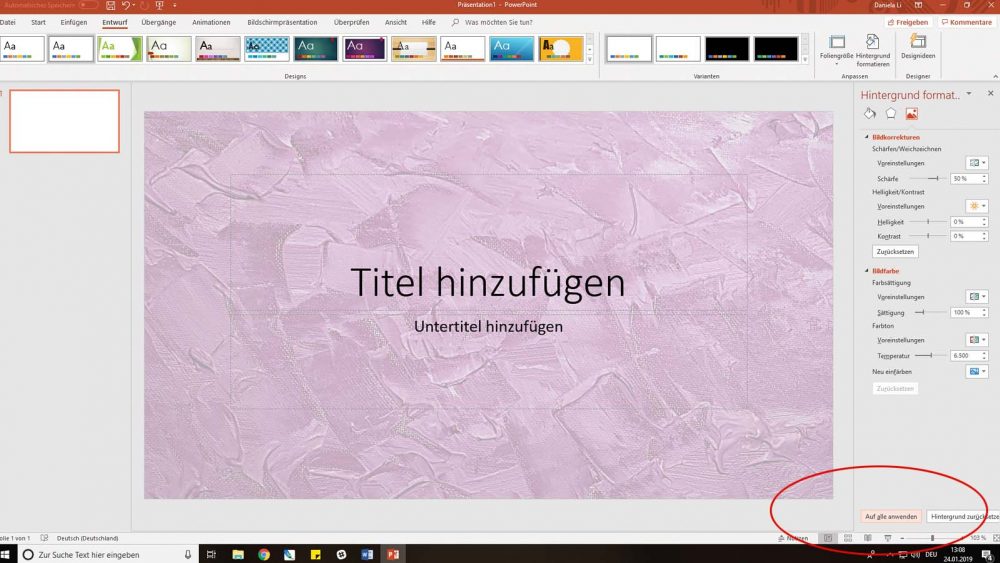
- Select the image: Click on the image you want to blur.
- Go to the "Picture Format" tab: In the top menu bar, select the "Picture Format" tab.
- Find the "Blur" section: In the "Adjustments" group, locate the "Blur" section.
- Adjust the blur radius: Use the slider to adjust the blur radius to your desired level.
- Preview and apply: Preview the changes in the preview window and click "Apply" to save the effect.


Subheading 4: Advantages and Disadvantages of PowerPoint Bild Unscharf Machen
Like any tool, PowerPoint’s "Blur" feature has both advantages and disadvantages:
Advantages:
- Non-destructive editing: Blurring an image in PowerPoint is non-destructive, meaning the original image remains intact.
- Customization: The blur radius can be precisely adjusted to achieve the desired level of blur.
- Ease of use: The "Blur" feature is easy to use and requires minimal technical expertise.
Disadvantages:
- Loss of detail: Excessive blurring can result in the loss of fine details in the image.
- Reduced sharpness: Blurring can reduce the overall sharpness of the image, making it less suitable for high-resolution displays.
- Potential compatibility issues: Blurring effects may not be compatible with all image formats or presentation software.
Subheading 5: Troubleshooting Common Issues with PowerPoint Bild Unscharf Machen
If you encounter issues with PowerPoint’s "Blur" feature, try the following troubleshooting tips:
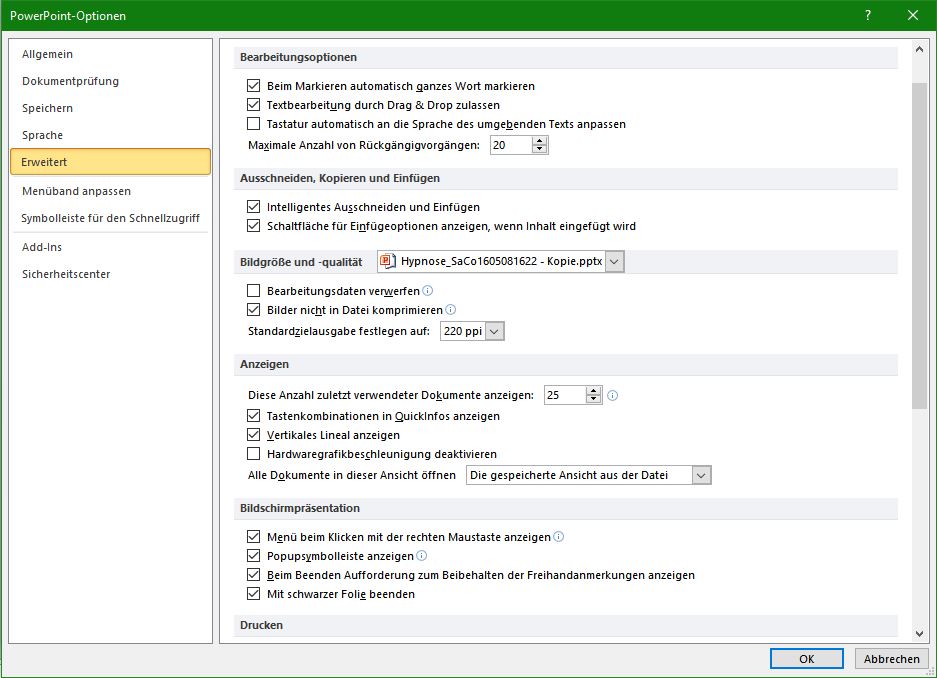
- Check image resolution: Ensure that the image you’re blurring has a high enough resolution to avoid pixelation.
- Adjust the blur radius: Experiment with different blur radius settings to find the optimal level for your image.
- Update PowerPoint: Make sure you’re using the latest version of PowerPoint to avoid compatibility issues.
Subheading 6: Summary of PowerPoint Bild Unscharf Machen
PowerPoint’s "Blur" feature is a valuable tool for enhancing the visual appeal and impact of your presentations. By blurring images, you can create depth of field, emphasize specific elements, and add artistic flair. The feature is easy to use and offers customization options to achieve the desired level of blur. However, it’s essential to consider the potential drawbacks, such as loss of detail and reduced sharpness, and troubleshoot any issues that may arise.
Subheading 7: Q&A on PowerPoint Bild Unscharf Machen
Q1: How can I blur only a specific part of an image in PowerPoint?
A1: PowerPoint doesn’t have a built-in feature for selective blurring. However, you can use third-party image editing software to blur specific areas and then insert the edited image into your presentation.
Q2: Is it possible to animate the blur effect in PowerPoint?
A2: Yes, you can animate the blur effect using PowerPoint’s "Morph" transition. By applying the "Blur" effect to two different versions of the same image, you can create a smooth transition between sharp and blurred states.
Q3: What are the best practices for using PowerPoint’s "Blur" feature?
A3: Use subtle blurring to avoid distracting your audience from the main message. Consider the image resolution and adjust the blur radius accordingly. Experiment with different blur settings to achieve the desired impact.
Q4: Can I blur an image to create a transparent background in PowerPoint?
A4: Yes, you can blur an image to create a transparent background. However, PowerPoint’s "Blur" feature doesn’t directly create transparency. You can use third-party tools or workarounds, such as exporting the image with a transparent background from an image editing software.
Q5: How can I save a blurred image from PowerPoint for use in other applications?
A5: To save a blurred image from PowerPoint, right-click on the image and select "Save as Picture." In the "Save As" dialog box, choose the desired file format and save the image to your computer.
Conclusion
Mastering PowerPoint’s "Blur" feature can significantly enhance the visual appeal and effectiveness of your presentations. By blurring images, you can create depth, emphasize key elements, and add artistic flair. Remember to use the feature judiciously, considering the advantages and disadvantages. Experiment with different blur settings and troubleshoot any issues to achieve the desired impact. Embrace the power of PowerPoint’s "Blur" feature and elevate your presentations to new heights of visual excellence.
Closing Statement
In today’s competitive business environment, it’s crucial to deliver presentations that captivate your audience and leave a lasting impression. PowerPoint’s "Blur" feature is an invaluable tool that empowers you to transform your slides into visually stunning masterpieces. By skillfully blurring images, you can create depth, highlight key messages, and add an artistic touch that sets your presentations apart. Embrace the power of PowerPoint’s "Blur" feature and unlock the potential for unforgettable presentations that inspire, engage, and drive results.
Closure
Thus, we hope this article has provided valuable insights into Powerpoint Bild Unscharf Machen: A Comprehensive Guide to Mastering Image Blur in Presentations. We hope you find this article informative and beneficial. See you in our next article!
